
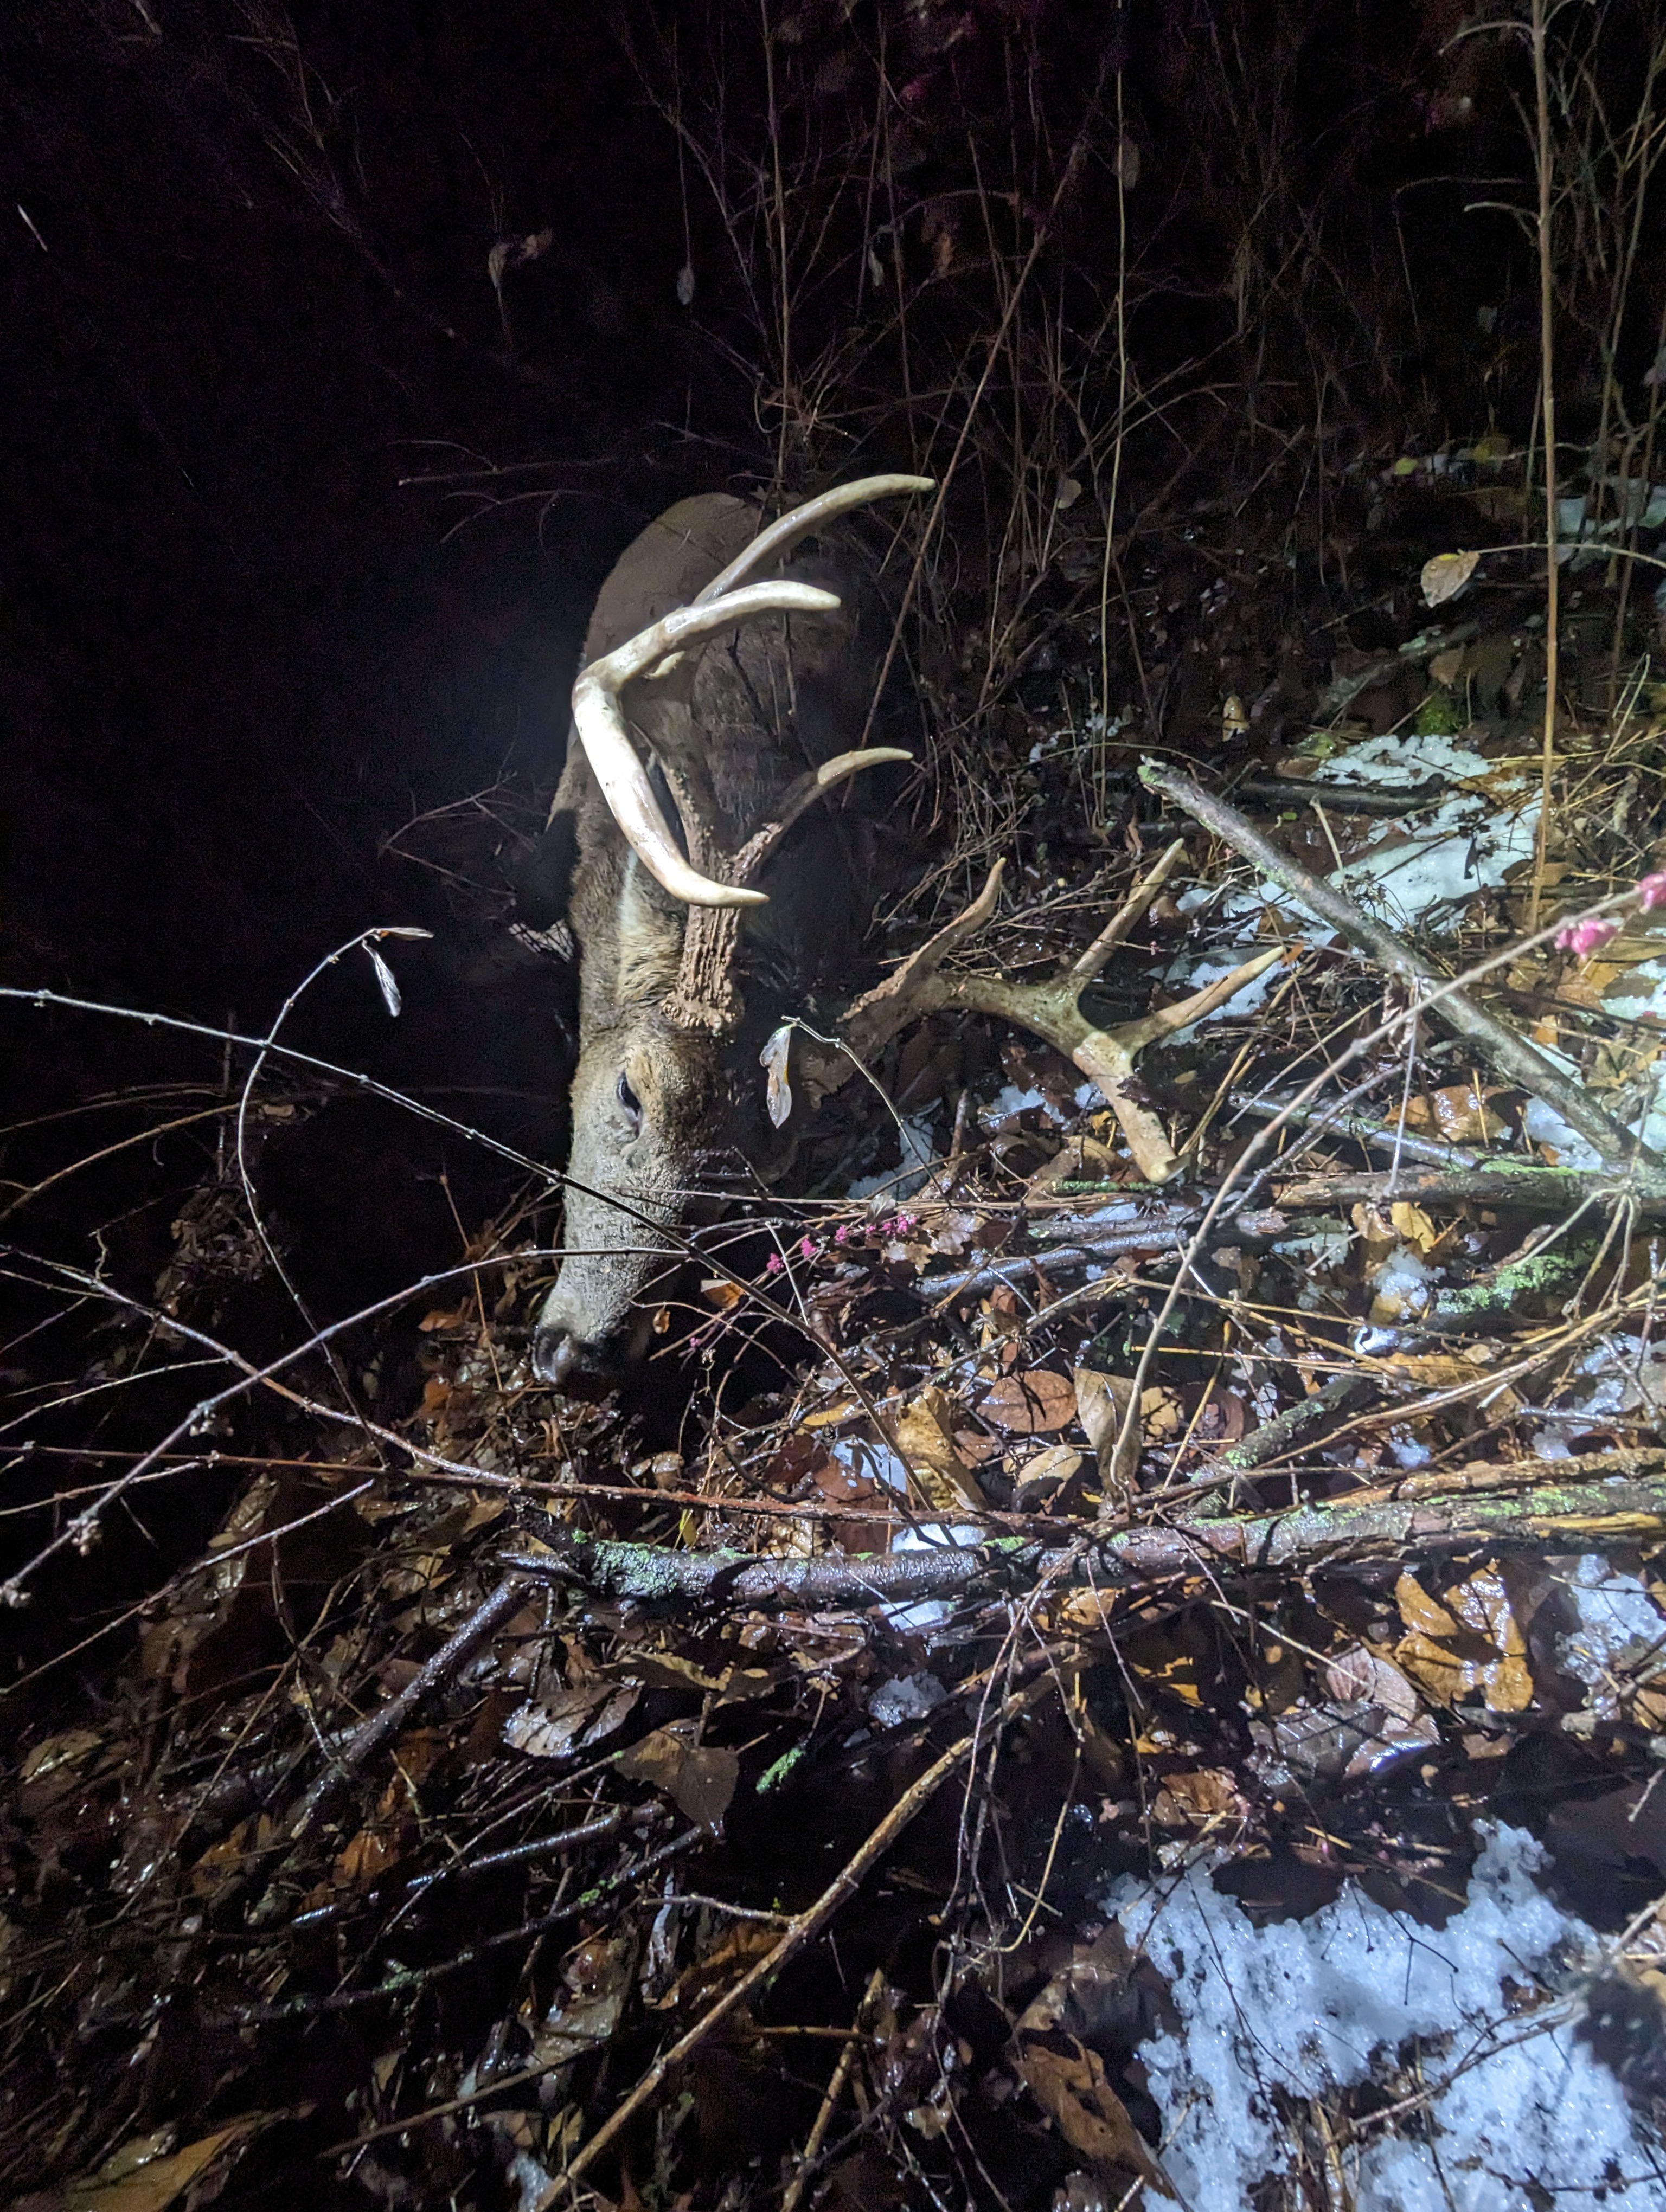
Field Dressing and Recovery for Beginners: What to Do After the Shot
Congratulations! You’ve successfully harvested a deer. Now the real work begins.
Fun fact: nothing humbles you faster than trying to drag 150+ pounds of dead weight through the woods. Ask your lower back. Quick story: I took a seven-year hiatus from deer hunting in my twenties. When I came back into it, I realized I had completely forgotten how to gut a deer. It was equal parts embarrassing and humbling. Thankfully, a couple things have changed since then:
- Apex is here to help, and
- YouTube exists—so you no longer need to call a buddy mid-field job to figure out what goes where.
Field Dressing: A Dirty Job (But Someone’s Gotta Do It)
One thing I take pride in is doing every task—no matter how messy—to the best of my ability. Field dressing is no different. Taking your time and doing it cleanly will pay off with better meat quality and less mess to deal with later. Here’s a straightforward step-by-step breakdown:
🧰 1. Prep for the Work Ahead
- Fill out your tag and attach it to the animal. Use zip ties or whatever method your state requires. Always check your local tagging regulations.
- Gear up: I like to wear a pair of nitrile gloves under long artificial insemination gloves. It’s a cheap but effective setup for keeping clean and protected.
- Grab your knife—a sharp one. If it has a gut hook, even better.
🦌 2. Position the Animal
- Lay the deer on its back with the head uphill to let gravity help you.
- Place your knees between the deer’s hind legs to keep it stable during the process. This gives you control and keeps things from rolling around.
🔪 3. Start the Incision
- Pinch the skin just above the pelvis and make a small, shallow incision. Be very careful not to puncture the stomach or intestines.
- Use your gut hook (or continue with your knife) to carefully open the body cavity from pelvis up to the base of the sternum.
🫁 4. Expose the Organs
- With the skin opened, slice through the muscle and inner lining to reveal the abdominal cavity.
- Be deliberate and steady—avoid puncturing the guts.
💨 5. Cut the Diaphragm
- Reach up inside the cavity and cut away the diaphragm.
- This step gives you access to the heart and lungs inside the chest cavity.
🌬 6. Cut the Windpipe
- Reach up into the throat and locate the windpipe above the lungs.
- Carefully cut it free, keeping your non-cutting hand well out of the way for safety.
🧼 7. Remove the Organs
- Grab the windpipe and start pulling downward.
- Most of the organs will come free with a firm, steady pull.
- Reach in and cut any remaining connective tissue to fully clear the cavity.
🚽 8. Remove the Rectum
- Carefully cut a ring around the anus from the outside. You can also use a specialty tool like the Butt-Out to simplify this.
- Reach in and pull the rectum through and out of the pelvic canal.
💧 9. Clean the Cavity
- Roll or tilt the animal to drain out excess blood and fluids.
- This not only helps cool the carcass but also prevents spoilage.
- Remove your gloves, clean your knife, and take a moment to appreciate your hard work—field dressing is done.
Sweat Equity – Getting Your Deer Out of the Woods
So, you’ve successfully field dressed your deer—congrats! But now comes the sweat equity part of the hunt: getting that deer out of the woods and into your truck. If you’re lucky enough to have road access and an ATV or side-by-side nearby, this step is relatively painless. But if you’re deep on public land or can’t get a vehicle close, buckle up—because it’s about to get physical.
There are two main options:
- Quarter it out in the field and pack it out with a frame pack (jump to the next section if that’s your route).
- Drag the whole deer out in one piece, using brute force or gear to assist.
If you’re still reading, you’ve chosen the “drag-it-out” option. Let’s talk about ways to make that easier.
🛠 Tools of the Trade:
- Jet Sled or Game Sled: I highly recommend a good sled—it slides easily over leaves, snow, and even short grass. Game-changer.
- Deer Cart (like the Hawk Crawler Cart): These work incredibly well for longer hauls. If you’re hunting solo, they’ll save your back.
- Drag Rope or Harness: Old-school but effective, especially with a buddy.
Personally, I own both a sled and a cart—and after using them, I’ll never go back to dragging a deer bare-handed again.
🏋️ If You’re Going Old School (Dragging by Hand):
If you’re dragging the deer with a buddy and a rope, this is what we call “Class 5 Fun.” That’s the kind of fun that’s absolutely miserable in the moment but makes for a great story later. Trust me.
Some tips:
- Drag in tandem if possible—sharing the weight makes a huge difference.
- Set a pace. Try dragging 100 yards, then stopping for a breather.
- Don’t forget water. Hydration matters—even in cold weather.
🦌 Story Time: The Iowa Detour
One of my buddies once shot a great buck during a hunt in Iowa. He was about a half-mile from the truck, tucked into a picked cornfield as the sun was going down. Not feeling confident about the shot, he waited until I got there to track it.
We packed up his blind gear and stashed it at the truck before heading back with the jet sled. We picked up the blood trail and found out that his “iffy” shot had double-lunged the buck. The deer only made it 70 yards before expiring.
Awesome, right? Except now it’s pitch black. No moon, cloudy sky, no light pollution—just straight-up blackness. With no landmarks in the giant open field, we guessed which direction to walk.
Spoiler alert: we guessed wrong.
We ended up dragging that deer half a mile in the wrong direction before realizing we’d hit the wrong treeline. A course correction, a whole lot of sweat, and some colorful language later, we made it out.
Now? It’s one of our favorite hunting stories.
Class 5 fun strikes again.
🍖 Basic Butchering & Cuts: Turning Your Deer into Dinners
Now that you’ve got your deer quartered and cooling, the next question is: What do I do with all this meat? Whether you’re taking it to a processor or tackling it at home, understanding basic butchering helps you get the most out of your harvest—and prevents waste.
You don’t need to be a professional butcher to break a deer down into usable cuts. All it takes is some basic anatomy knowledge, a clean workspace, and a sharp knife.
🛠️ What You’ll Need:
- A clean surface or cutting board
- Boning knife (flexible is best)
- Vacuum sealer or freezer paper + tape
- Labels and a marker (you will forget what’s what later)
- A meat grinder (optional, but nice for burger and sausage)
🦵 The Primary Cuts (Start with the Quarters)
These are the big muscle groups you’ll break down for steaks, roasts, or grinding.
🔹 Hind Quarters (Rear Legs)
These are your steak and roast powerhouses.
- Top Round – Great for jerky or sliced steaks
- Bottom Round – Often used for roasts or grind
- Eye of Round – Lean cut, ideal for slicing thin
- Sirloin Tip – Tender roast or kabob meat
🧠 Tip: Label your bags with both the cut and the side (left/right hind)—helps when testing tenderness.
🔹 Front Shoulders
Less tender than the hindquarters but perfect for grinding or slow cooking.
- Chuck Roast – Great for braising
- Trim Meat – Anything too small or irregular goes into the burger pile
- Shoulder Steaks – If you’re careful, you can carve a few good ones out
🧠 Tip: Front shoulders contain more sinew—don’t stress about making them pretty.
🥩 Backstraps & Tenderloins: The Prized Cuts
These are the ones everyone talks about—and for good reason.
🔹 Backstraps (Loin)
Run along both sides of the spine and are your best cuts for steaks.
Cut into:
- Butterfly steaks
- Medallions
- Roast sections (great for reverse-sear)
💡 Don’t overcook these—medium-rare is the sweet spot.
🔹 Tenderloins (Inner Loins)
Located inside the cavity behind the ribcage, these are the most tender cuts on a deer. They’re small, but mighty.
🧠 Tip: Cook them fresh—they dry out fast in the freezer.
🍔 Trim & Grind Pile
All the little bits and trimmings that don’t quite make a steak or roast? That’s your grind pile.
- Burger
- Sausage
- Meat sticks
Mix with pork fat or beef suet at a 10–20% ratio to keep things juicy and flavorful.
❄️ Freezer Prep: Label Like Your Life Depends on It
- Use vacuum sealers for long storage or double-wrap in plastic wrap and freezer paper
- Label every package with the cut, date, and side (left/right)
- Organize your freezer by cut or quarter for easy access
🧠 Trust me, six months from now, “mystery meat #3” won’t be as exciting as you think.
🧽 Clean & Sanitize Everything
When you’re done, clean all your tools and surfaces thoroughly. Deer meat is clean, but you don’t want to risk cross-contamination. A little bleach and hot water go a long way.
Final Word: You Got This
Your first time breaking down a deer might feel intimidating—but it gets easier. You’ll develop your own system over time, and before long you’ll be slicing backstraps like a pro.
And let’s be honest… a meal that started with a crisp fall morning and ended with you at the dinner table? That’s something special.
This post is part of theDeer Hunting for Beginners Series—your full guide to mastering the basics of whitetail hunting.
Stay tuned for the next chapter inDeer Hunting for Beginners—we’ll cover what to do with the meat from your deer.

Leave a Reply