
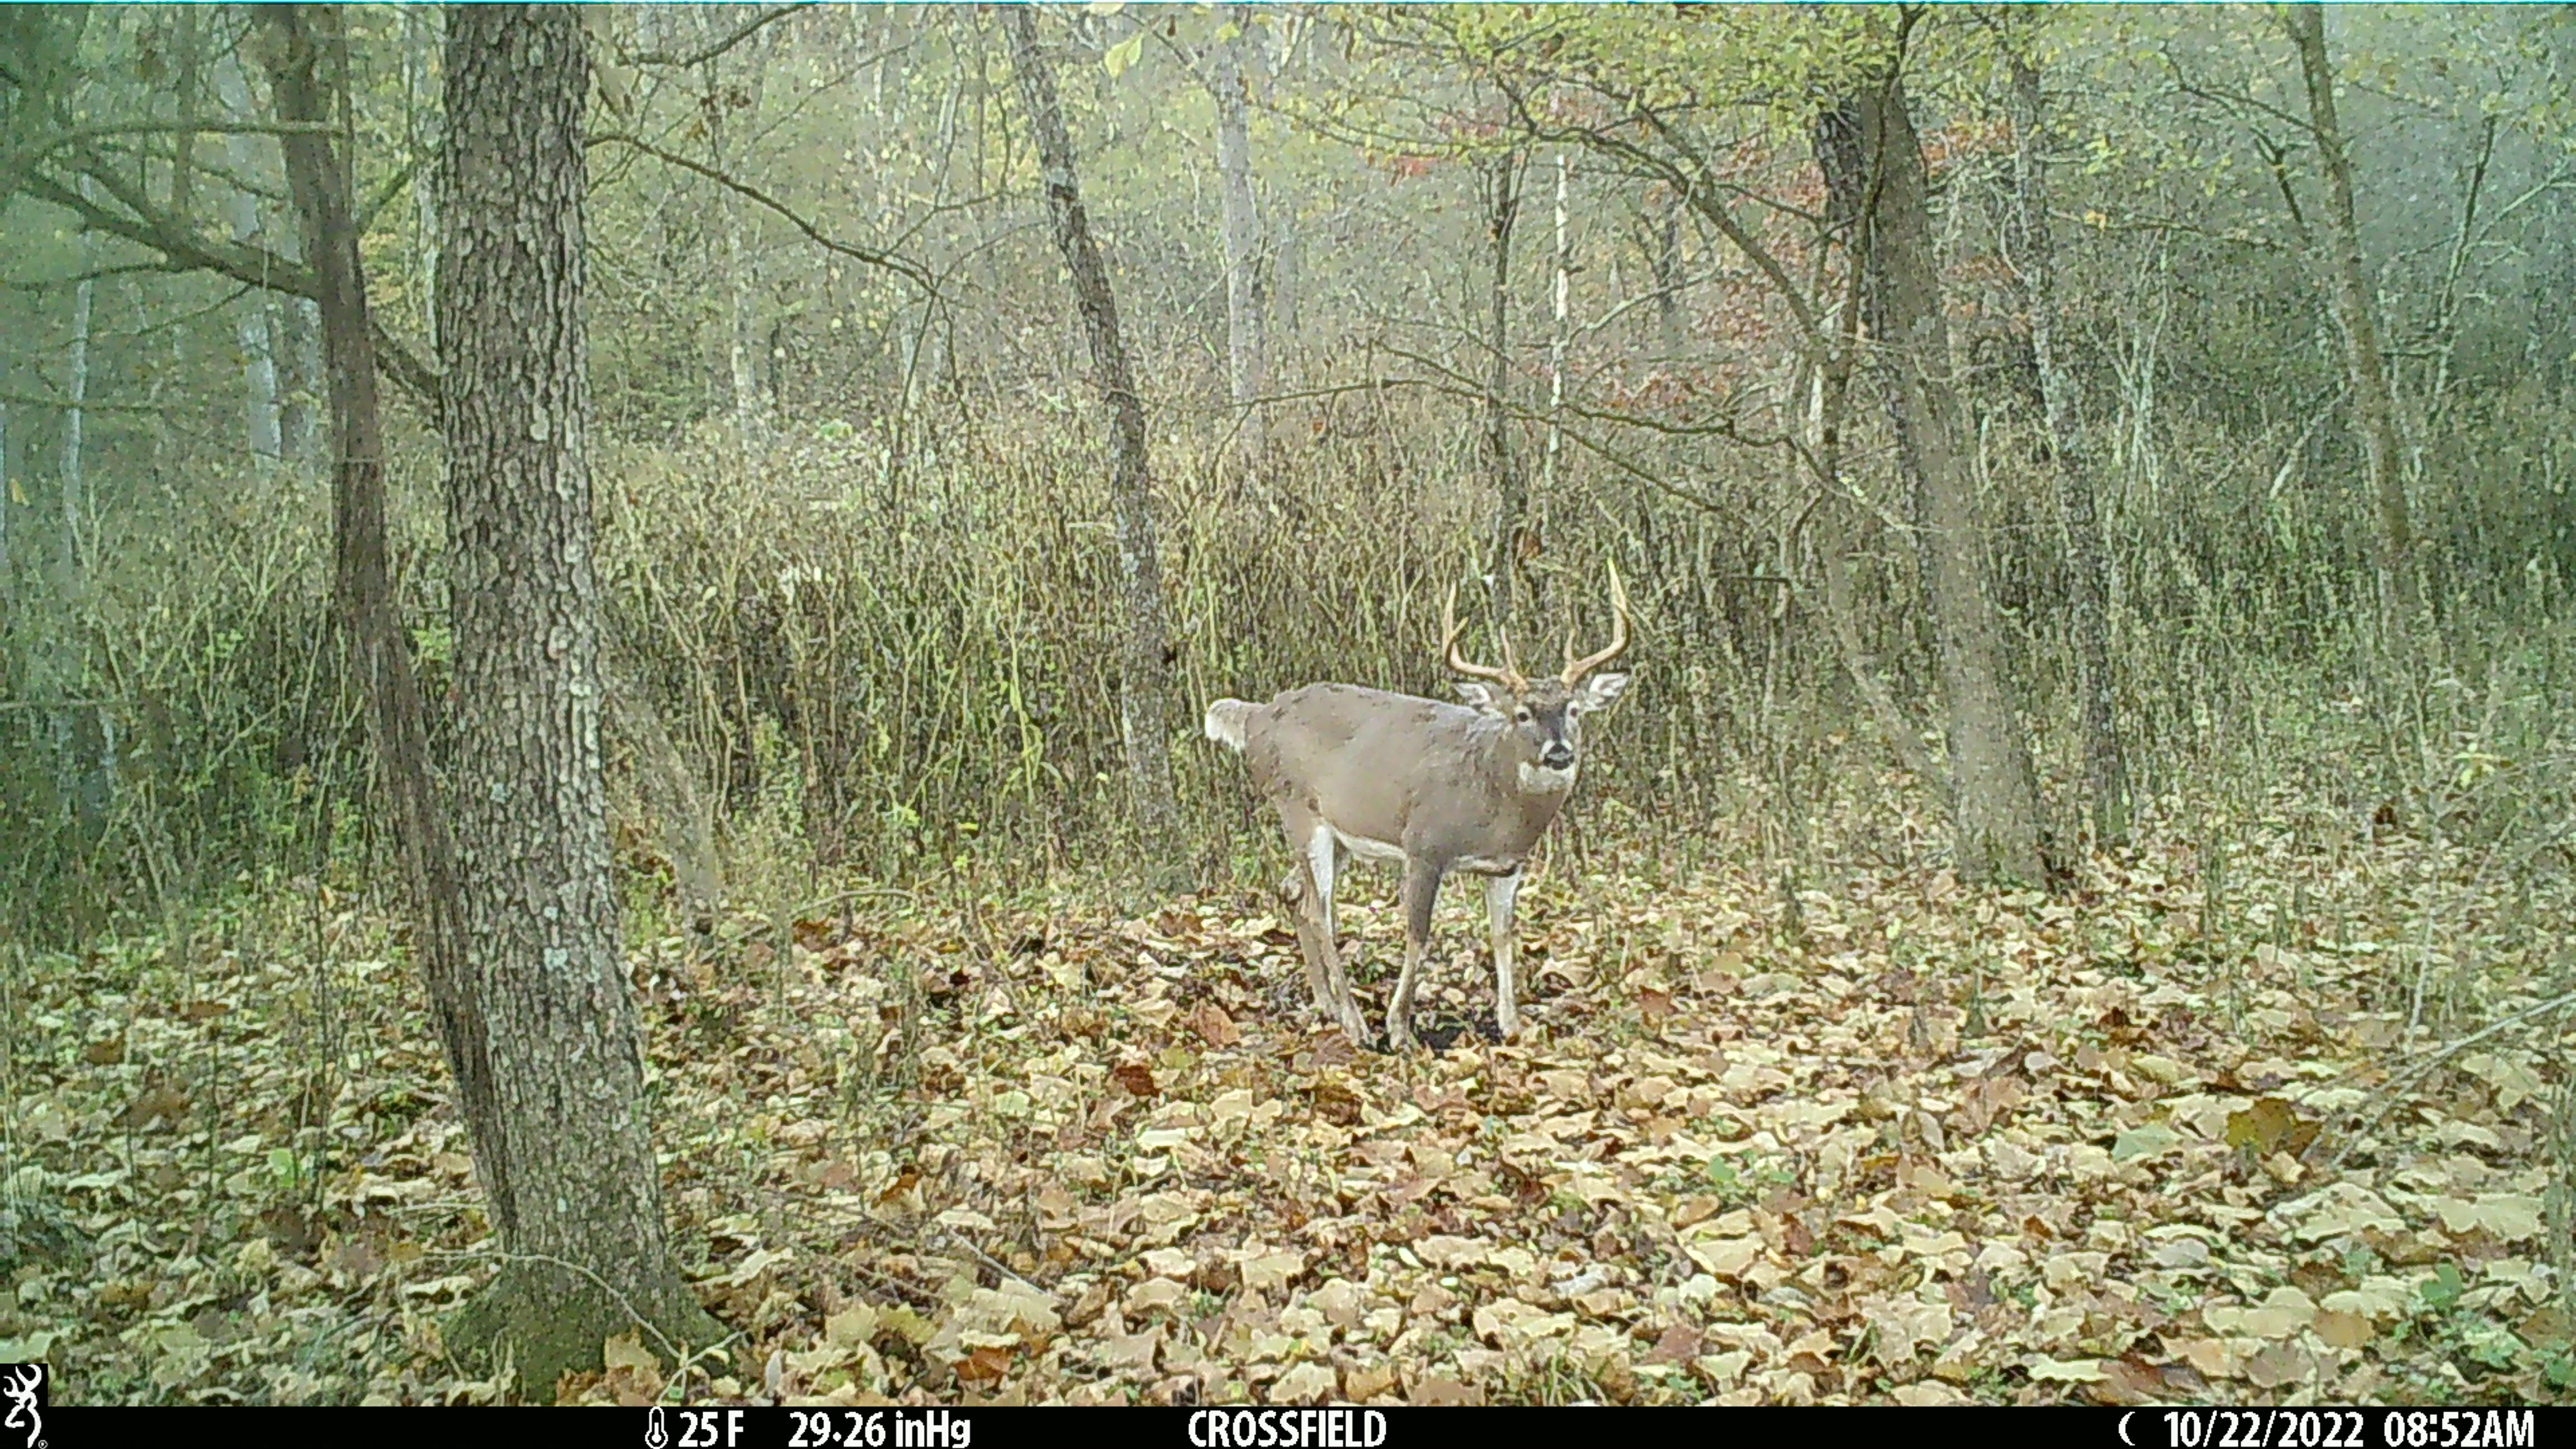

Trail cameras have changed deer hunting forever. Learning how to use trail cameras for deer hunting helps you collect real-time intel, track mature bucks, and hunt with purpose instead of luck. They turn the guessing game of deer behavior into a science—and if you’re serious about consistent success, it’s time to master this tool.
If you’ve ever scrolled through SD card photos like you’re reviewing celebrity red-carpet shots, congratulations—you’re officially part of the whitetail paparazzi. Trail cams make us exactly what deer fear most: quiet, patient, and always watching. Whether you’re chasing a ghost buck or just figuring out who’s sneaking through your woods at night, this guide will help you take better pictures, gather better data, and make better hunting decisions.
In this article, we’ll break down the seven game-changing ways to use trail cameras for deer hunting : 📸 Take inventory 📸 Pattern movement 📸 Hunt efficiently 📸 And, most importantly—catch your shooter on candid cam.
1. Why Trail Cameras Matter
A well-placed camera acts like a silent scout, capturing deer activity 24/7 without adding pressure. Hunters who know how to use trail cameras for deer hunting don’t just collect random photos—they gather data that reveals behavior, timing, and opportunity.
Trail cameras help you:
- Take Inventory: Identify bucks, does, and fawns using the area.
- Pattern Mature Bucks: Learn where and when they move.
- Track Seasonal Changes: Compare summer, rut, and late-season movement.
- Scout With Less Pressure: Gather intel without burning out a spot.

Used right, cameras give you eyes when you can’t be there. Used wrong, they’ll spook your best deer before you ever climb a stand.
2. Types of Trail Cameras
There’s no one-size-fits-all camera. The right type depends on your hunting style, property size, and tolerance for intrusion.
Standard SD Card Cameras
These are the backbone of budget-friendly scouting. Simple, reliable, and effective, they’re great for hunters who don’t mind checking cameras manually.
- Pros: Affordable, simple setup, long battery life.
- Cons: Requires physical checks, increasing scent and pressure.
Pro Tip: Check SD cams during midday, wind, or light rain to reduce scent spread and noise impact.
Cellular Cameras
Cell cams send images straight to your phone, reducing intrusion dramatically. They’re ideal for monitoring bedding areas, sanctuaries, or distant properties.
- Pros: Instant updates, minimal disturbance, time-stamped data.
- Cons: Require cell signal and a data plan, higher upfront cost.

3. Best Trail Camera Locations for Deer
Even the best camera won’t help if it’s pointed at nothing. The secret is strategic placement. These are the five most reliable trail camera locations for deer throughout the season.
1. Scrapes & Mock Scrapes
Best For: Taking buck inventory.
Why It Works: Bucks check scrapes regularly, leaving and reading scent messages.
Setup Tip: Mount cameras waist-high, slightly angled down, and choose a tree wider than your camera for concealment.
2. Food Sources & Field Edges
Best For: Tracking early- and late-season feeding patterns.
Why It Works: Deer visit these areas predictably during daylight transitions.
Setup Tip: Position 20–30 yards off the field edge to capture staging activity before dark.
3. Pinch Points & Funnels
Best For: Rut travel corridors.
Why It Works: Bucks cruise these narrow paths while scent-checking for does.
Setup Tip: Angle cameras parallel to trails, not head-on, to avoid blurry photos.
4. Water Sources
Best For: Summer or drought conditions.
Why It Works: All deer need water; high-traffic hydration zones yield consistent photos.
Setup Tip: Mount low enough to catch movement from multiple directions without false triggers.
5. Bedding Area Entrances
Best For: Early-season buck monitoring.
Why It Works: Bucks often move during daylight along entry and exit trails.
Setup Tip: Avoid entering the bedding area itself—focus on transition trails just outside the core.

Pro Tip: Run multiple cameras in different terrain types. This helps map how deer transition across your property based on time, food, and pressure.
4. How to Interpret Trail Camera Photos
Collecting pictures is easy— to interpret trail camera photos is the real skill. Understanding patterns, timing, and consistency separates casual observers from successful hunters.
Look for Consistency
When a buck shows up multiple times in daylight, you’ve found opportunity. Frequency plus timing equals vulnerability.
Connect the Dots
Use multiple cameras across bedding, food, and funnels to identify travel circuits. Every image is a breadcrumb leading to a pattern.
Watch the Weather
Track movement around cold fronts, rain, or moon phases. Weather shifts can trigger predictable daylight activity.
Review Historical Data
Some bucks show up on the same dates each year. Don’t delete old cards—study them. History often repeats itself.

5. How to Avoid Burning a Spot with Cameras
Even the smartest trail camera setup tips fail if you over-pressure your area. Deer notice intrusion long before you realize it. Here’s how to keep your cameras working without educating your target buck.
- Use Cell Cams in Sensitive Areas: Especially near bedding zones.
- Check SD Cams Every 2–4 Weeks: Pick midday during poor conditions (wind, drizzle).
- Control Scent: Gloves, scent-free handling, and quick visits matter.
- Approach With Wind Advantage: Treat camera checks like hunting setups—never walk in upwind.
Pro Tip: Mark every check on your mapping app to track intrusion frequency. If deer go nocturnal suddenly, you’re likely visiting too often.
6. Advanced Trail Camera Setup Tips
Once you’ve mastered the basics, it’s time to push your efficiency. These advanced trail camera setup tips will maximize photo quality and data accuracy.
- Angle and Height: Waist-high and slightly downward gives best detection range.
- North-Facing Setup: Avoids false triggers and glare from the sun.
- Use Time-Lapse Mode: Great for open fields and large plots.
- Overlooked Spots: Edges of clear cuts, creek crossings, and backdoor bedding trails often hide daylight movers.
Pro Tip: Don’t aim for perfect photos—aim for perfect data. Blurry images still tell you what matters: direction, time, and frequency.
7. Seasonal Trail Camera Strategies
To really maximize how to use trail cameras for deer hunting, you need to adjust your approach as the season changes. Deer don’t behave the same in August as they do in November, so your camera strategy shouldn’t either.
Early Season (Summer to September)
In the early season, focus cameras on food sources and field edges. Bucks are often in bachelor groups and highly patternable. Place cameras on crop edges, mineral sites where legal, and staging areas just inside cover. This phase is all about taking inventory and identifying which bucks are worth targeting once season opens.
Pre-Rut and Rut
As daylight shortens and testosterone spikes, shift cameras from food to travel. Monitor scrapes, funnels, and downwind sides of doe bedding areas. Cellular cameras shine here—you can watch rut activity unfold in real time without blowing up the woods. This is where understanding how to use trail cameras for deer hunting can put you in the right funnel on the right day.
Late Season
After the rut, survival becomes the priority. Move cameras back to high-energy food sources—standing grain, late green plots, or remaining mast. Track which bucks made it through gun season and how they use remaining cover. Late-season camera intel is huge for tagging worn-down survivors on cold, high-pressure days.
Pro Tip: Don’t just move cameras randomly between seasons. Use what you’ve already learned about bedding, food, and pressure to predict how deer will shift—and place cameras accordingly.
8. Final Thoughts — Let Cameras Work for You
When you truly understand how to use trail cameras for deer hunting, they become more than gadgets—they’re silent teammates. They scout while you sleep, track patterns you’d never see, and help you make smarter decisions season after season.
But remember: cameras don’t kill deer. They reveal opportunity. What you do with that information—where you set up, how you approach, and when you strike—is what seals the deal.
For more in-depth camera strategy, check out Realtree’s trail camera placement tips—a perfect next read to sharpen your skills.
🔗 This article is part of the Deer Hunting for Beginners Series — your complete guide to building confidence and skill in the whitetail woods.
⬅️ Previous Article:
Understanding Deer Terrain — learn how ridges, saddles, and elevation shape deer movement.
➡️ Next Up in the Series:
Scouting 101 — make your digital and on-the-ground scouting efforts more effective.

Leave a Reply